INTRODUCTION

One of the most unnerving problems home decorators and room renovators face when redecorating a room is removing sticker residues on the walls. If you are reading this now, you’re probably wondering how to remove sticker residue as well. What are these by the way? Sticker residues can come from sticker wallpapers or sticker decorations that have been on the wall for a long period of time. When you scrape them off, they don’t perfectly come off and there are some pieces of residue left on the wall.
Sticker residue can also come from adhesive tapes and other tapes that have been plastered on the wall. When peeled off, they can leave a mark that can be difficult to scrape off. When repainting the wall, you have to make sure that the wall is clean off of any dirt including sticker residue. So, how to remove sticker residue? With the correct equipment and preparation, scraping sticker residue off your walls is an easy task. Below are some ideas and suggestions to get you started.
How to Remove Sticker Residue (Step-By-Step Guide)
1. Prepare The Room First

Make sure that your room is empty of furniture and other objects that might become an obstruction during the cleaning process. Prepare the room for painting and move all the furniture outside of the room or to its center. A few meters away from the wall just enough for them not to be splashed or sprayed with the chemicals and substances for cleaning.
2. Peel The Wallpaper
If the wall has an existing wallpaper, remove it by peeling it. It doesn’t have to be perfectly removed as residues from the sticker are expected to be left on the surface. Continue peeling off the wallpaper until the wall is empty and only residue and some paint coating remain.
3. Get The Cleaning Solutions
There are a variety of treatments available on how to remove sticker residue, but why waste money on an expensive and perhaps harmful way when there are so many tried and tested methods just inside your own cupboard? Here are several alternatives that will get the job done cheaply, safely, and effectively—removing that annoying residue without causing damage to your wall.
- Dishwashing liquid with hot water
Put a cup of boiling water and a few teaspoons of dishwashing liquid in a small mixing bowl. Apply using a sprayer or a sponge to an area of the wall. As the sticker residue softens, it should wash away. If you’re using a spray bottle, gently scrape the softened glue away with a putty knife or other sharp instrument. (Add a tablespoon of baking soda to your solution for added effectiveness).
- Hot water mixed with vinegar
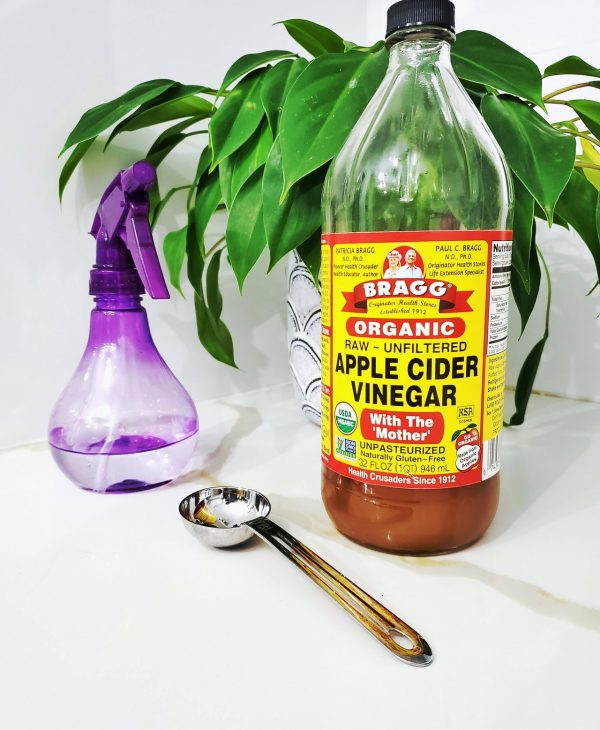
Blending a few ounces of white vinegar into a pail of warm water is another excellent, and scented, approach to remove sticker residue. If you’re using a spray bottle, combine 50%water and 50% vinegar. Allow the vinegar mixture to rest for several minutes before removing it, regardless of whether you use spray or sponge to apply it.
- Fabric softener
Mix 1 cup liquid fabric softener with 2 cups of water for a more pleasant-smelling solution. This approach may also be done with a spray bottle or sponge, but only in tiny sections, because the fabric softener may stain the remainder of the wall, producing streaks.
- Cloth steamer
If you have a garment steamer, you may use it for both cleaning and ironing. Simply set the steamer next to the sticker residue and wait for the adhesive to melt. The sticky residue will wipe away easily once it has softened.
4. Wash Out The Cleaning Solution
Whatever cleaning solution you choose, make absolutely sure that you have a container of clean, heated water to rinse the solution and any sticker residue it dissolves once it’s been applied. Wipe away solution and residue using a sponge, washing often to avoid leaving any stains. To eliminate any remaining residue, you may need to reapply the cleaning solution process.
5. Wipe
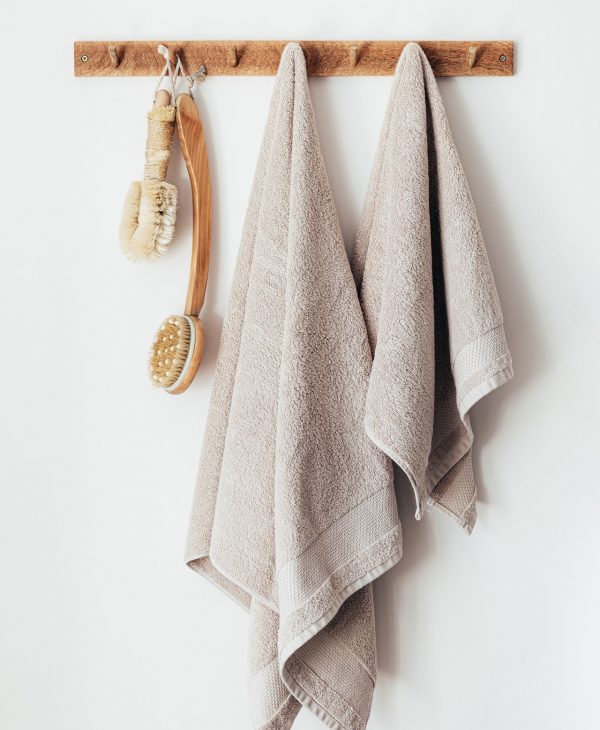
Wipe away any residue or cleaning solution with a clean dry towel or rinse water. If you still have a few sticker residues left, scrape them away with a wallpaper scraper or a plastic drywall knife. Remove any rough places with fine-grit sandpaper if necessary.
6. Dry
Before adding new wall paint, wallpaper, or any decor, make sure your walls are completely dry. This ensures that your new décor adheres properly and lasts for a long period of time.
Additional Tips To Remember

- Mix cleaning solutions in tiny batches to keep the water hot for better results. Always keep the water hot.
- Make sure all electrical outlets are covered. Cover the outlets or switch off the electricity at the breaker to avoid any potential shock or harm when using a liquid solution.
- Work in little chunks that may be completed in a matter of minutes to prevent the solution from drying.
- Don’t go overboard with the color on your walls. You might harm your drywall by using too much cleaning product or rinse water, effectively weakening the structure.
- If you have a large wall to clean or cover, ask help from a family or friend to get the work done fast and easily.
- If the residue is hard to remove and still persists, go to your nearest hardware and inquire about adhesive residue removal products.
Removing sticker residue from walls or from any surfaces is something that you can DIY as long as you carefully follow the steps above. However, keep in mind that you can always leave these tasks to your contractor or renovator so you don’t have to do all the work. But if you’re planning to do a DIY renovation project and only repainting some parts of your wall, then definitely do it yourself. It might be a bit challenging at first but once you know how to remove sticker residue and after you’ve done the work and see the result, you’re going to thank yourself you did it. Renovating and redecorating our homes is a fun and exciting process, although some parts and processes can be a bit of a chore, at the end of the day, when all is fixed and perfectly put, it can truly feel satisfying and rewarding.